If you’ve got some cute fabric and an obsession for circle skirts, but aren’t so hot with your sewing skills, this is the tutorial for you! I’m no expert but I know enough to get by, and it’s so handy to be able know that the adorable print you picked up at the fabric store isn’t going to go to waste.

What you will need:
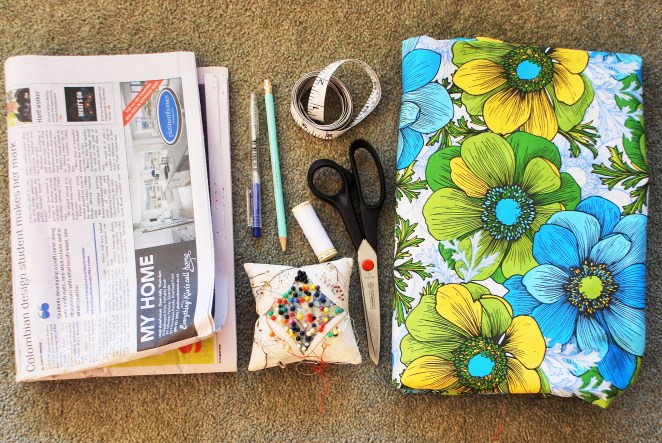
– Fabric
– Newspaper
– Scissors
– Pen/pencil
– Tape measure
– Pins & needles
– Thread
– Hook & eye and/or snaps (not pictured)
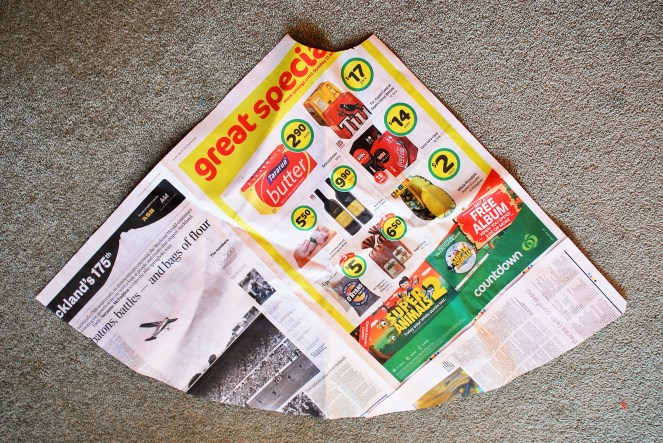
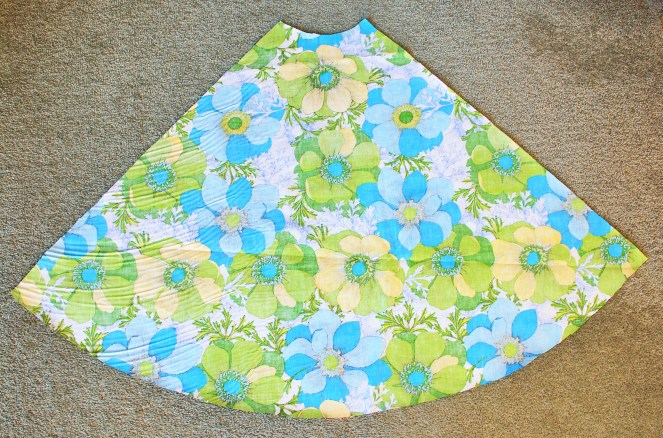
1. First you’ll need to make a pattern. I find that making quarter of a circle is best, and I made mine out of newspaper. Take your waist measurement, divide this by pi (3.14), and then divide that number by two – this is your waist radius. For example, my waist is 25 inches, so (25 / 3.14 / 2) my waist radius is 3.98 inches. I use this to make the small curve at the top of the picture, which you can do by keeping the base your tape measure at the corner of the newspaper and moving it round, marking out the waist radius measurement as you go. Then join these markings together to make a curve. You can then cut this out. Then decide how long you want the skirt to be – I make mine to be about 25 inches – and measure that plus an inch for hemming around the waist radius, again moving the tape measure to make a curve. Once you’ve cut this part, you should have something similar to the cut-out below.
2. Lay the pattern over the fabric, making sure you don’t leave too much waste fabric around the edges. Place a couple of pins to hold the pattern in place, and then cut around it.

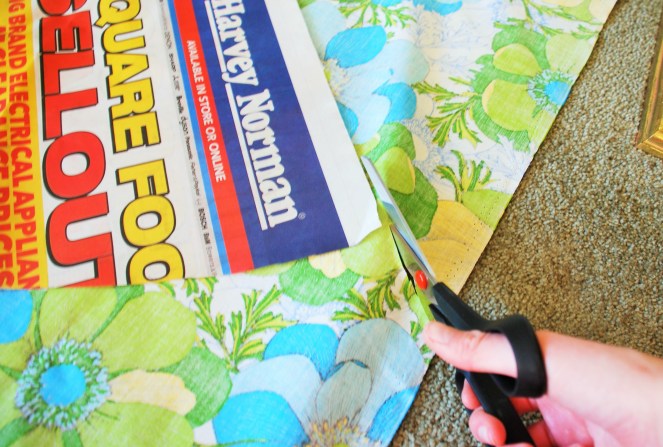
3. Repeat step 2 another three times so that you have four quarters. Note: if your fabric is wide enough, you won’t need to do this – instead you can fold your fabric into quarters and cut around the pattern that way to get a full circle in one step.
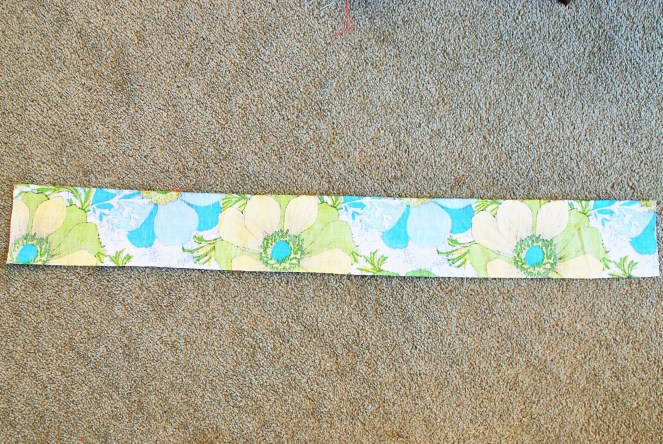
4. Cut a waistband. Measurements will depend on how thick you want the waistband to be, but I make mine 4 inches longer than my waist measurement, and about 3.5 inches wide.
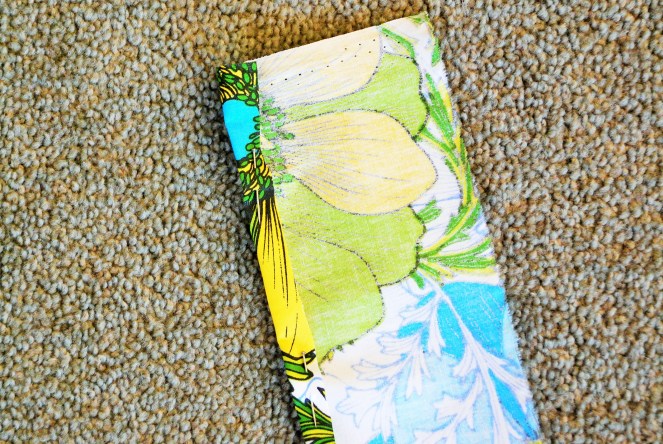
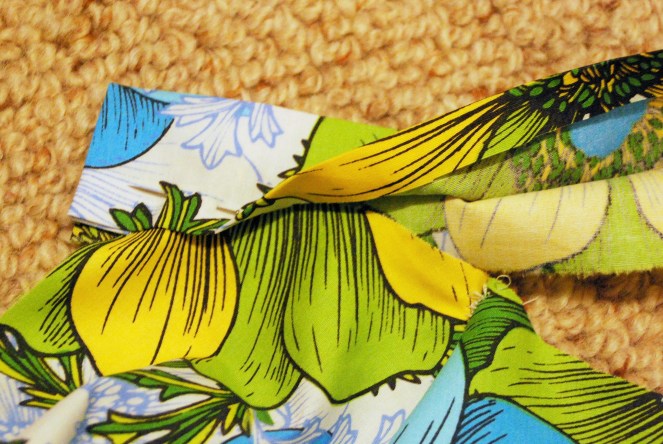
5. Pin the four quarters of your skirt together, and pin about quarter of an inch of the waistband over (as pictured).
6. Use a sewing machine to sew each of the quarters together. Make sure you sew with the fabric showing inside out! I try to have the stiching about quarter of an inch in from the edge of the fabric as shown.

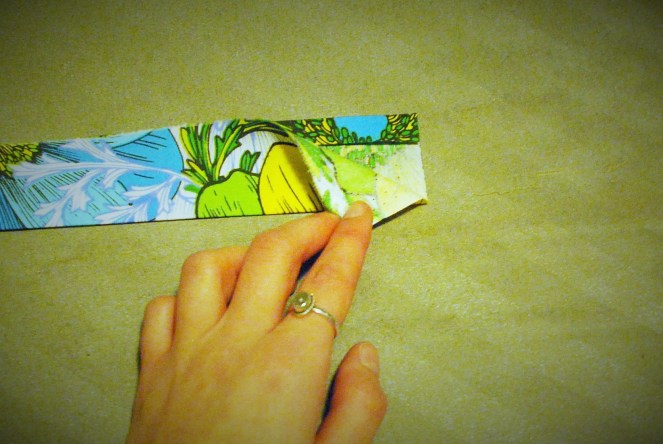
7. Once all the quarters are sewn together, fold and pin the widest part of the circle over about quarter of an inch to be the hem. I have only folded mine over once, but it will hide any fraying fabric if you fold it over twice.
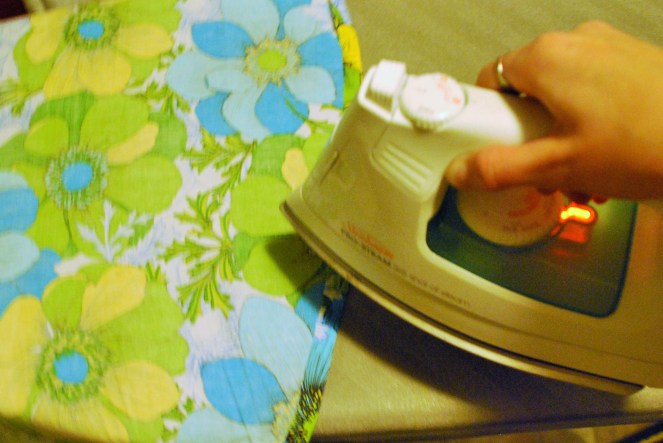
8. Iron your pinned hem so that it’s easier to side. Also, take the waistband we pinned earlier and iron that too. Then take the pins out, fold in half, and iron.
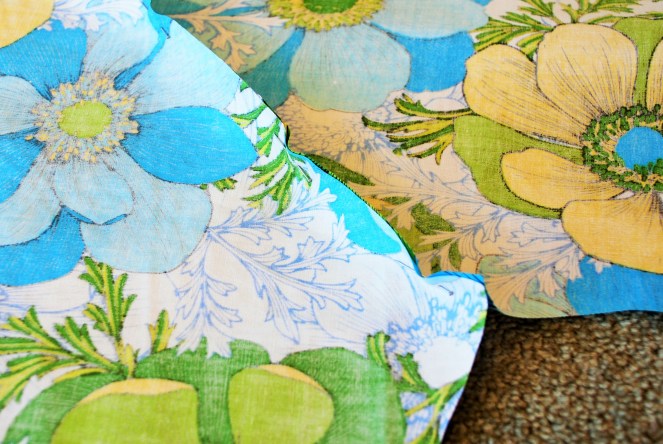
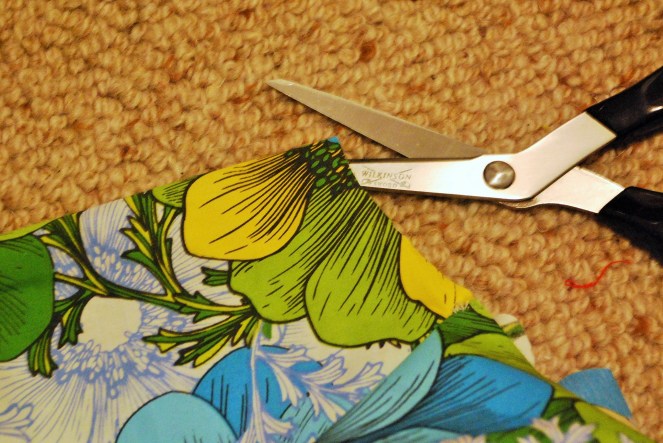
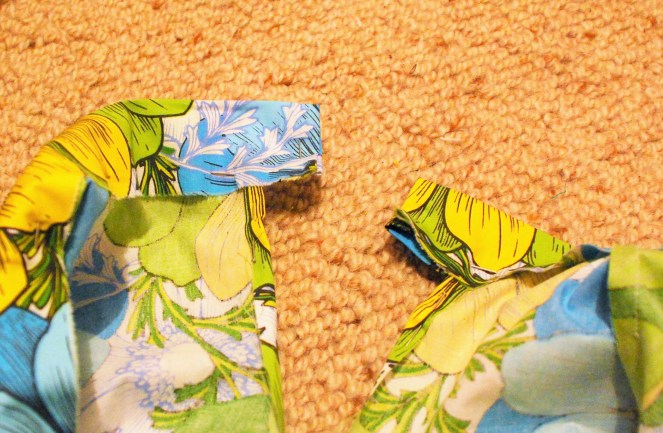
9. Take your scissors and make a cut down the skirt for the side opening. If you’ve made the skirt in quarters, I recommend making the cut in the middle of one quarter (as shown) – if you had left one of the seams open that would mean you had a seam directly down the front centre of the skirt.
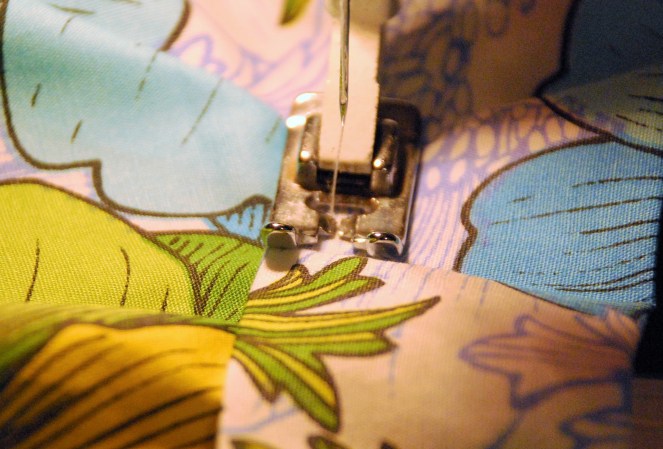
10. Sew down the hem, and when you’re done it should look like the second picture.

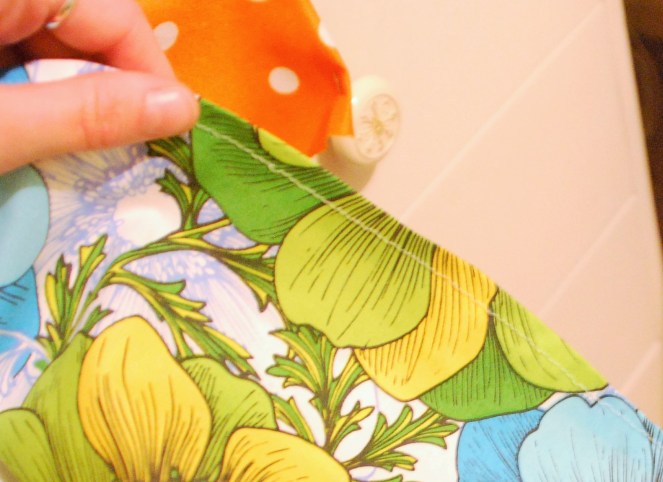
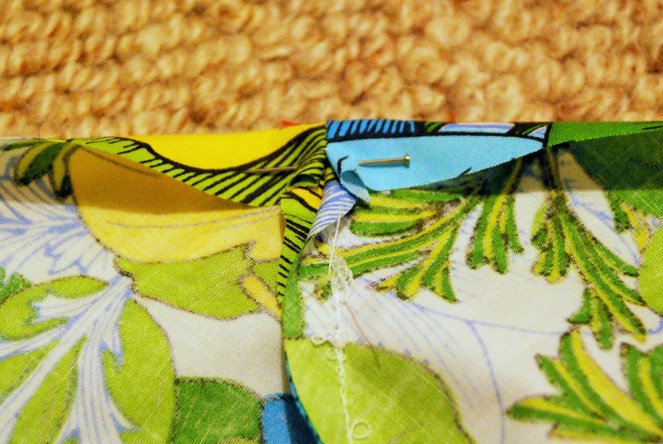
11. Pin the waistband around the top of the skirt. Do this by folding in each end (so threads aren’t showing), then making sure the main skirt fabric goes right up into the waistband and that the folded over side of the waistband (the one we ironed earlier) is on the outside. Also ensure that each side of the skirt opening is folded in (second picture). The ends of the waistband will overlap themselves when you wear the skirt, so try to make one end a bit longer than the other as pictured.
12. Sew the waistband on the sewing machine, ensuring that you sew both sides at the same time so the waistband is attached inside and out.
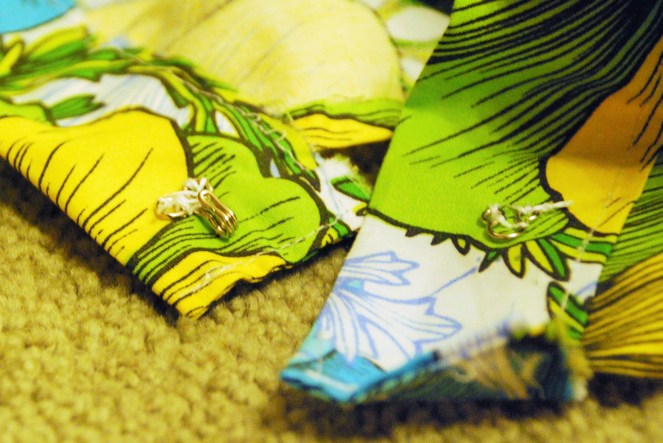
13. Add a hook and eye on the waistband. This should allow the waistband to overlap when on which should mean the opening of the skirt is covered. If you’re worried about showing petticoat though, you can also add a snap or two down the opening to hold it in place.
14. Wear your lovely new skirt with flair and remember to do lots of twirling!
If you have any questions, problems, or success stories, please contact me at missheroholliday@gmail.com
Miss Hero Holliday
xo

So cute ^_^
LikeLike
Love this!!! This is my next free time project!!
LikeLike
Yay! I would love to see it when it’s finished! 🙂 xx
LikeLike
Hi, love this easy pattern. Just a question; does the amount of fabric used at the ‘between quartera’ seems make a big difference to the swing of the skirt? I imagine if you did it all from one big peice of material you’d save maybe 8 inches of fabric from becoming seams…does it make much of a difference?
Thanks
LikeLike
Hi Anne! You’re right on saving fabric, however the majority of fabric I’ve found won’t allow for the whole skirt to be cut out from one piece because it’s usually not wide enough for a full circle. It also will make a difference if you’re using patterned fabric, ie I made a skirt recently with 50s ladies on it and if I had cut it all in one piece (though it was not wide enough to do so) then the ladies on one side would have ended up upside down if that makes sense? It will also depend how wide your seams are; I try to make mine only about 1/2 an inch so that would be only 2 inches saved in total so not too much wastage. I hope that helps! 🙂 xx
LikeLike