I have worn my watermelon skirt in a couple of outfit posts over on Instagram, and some of you have asked for a tutorial on it. Unfortunately I didn’t photograph the process when I made mine, and it was enough work that I’m not so keen to make a new one to document the process, BUT to provide a visual accompaniment to my ramblings I have done some drawings. So let’s begin!

What you will need:
– Pink/red fabric (more of this)
– Green and white/cream fabric (not so much of this)
– Black fabric
– Newspaper
– Scissors
– Pen/pencil
– Tape measure
– Pins & needles
– Thread in black, red, and green
– Hook & eye and/or snaps
Note: Everyone has their own favourite kind of watermelon. I used a bright red with cream and a lime-ish green edging for my skirt, but the shades you use are completely up to you (pink, white, and kelly green also would look really good together, for example). Also, in terms of the fabric you choose, this also depends on what works best for you. I would suggest a cotton or poly-cotton as this will wear well and not need TOO much ironing (I used rayon and I would not recommend it!). For the black fabric (which will be used for the seeds) I used felt as I to me this was sturdy and easy to sew on, however this is a fabric where the colour is inclined to run. I haven’t washed my skirt yet for fear of this happening, but if you choose felt I would recommend putting it through the wash before making it into seeds and sewing it on the skirt so that if the colour is going to run then hopefully that will get it out of its system.
1. The watermelon skirt is made up of three different pieces: lots of pink/red, then white/cream, then green. So before you start cutting, think about how long you want your skirt to be in total. For example, if you wanted your skirt to be 25 inches long you’d need to think about how you want the proportions of your skirt to be and what length you cut each piece of fabric.
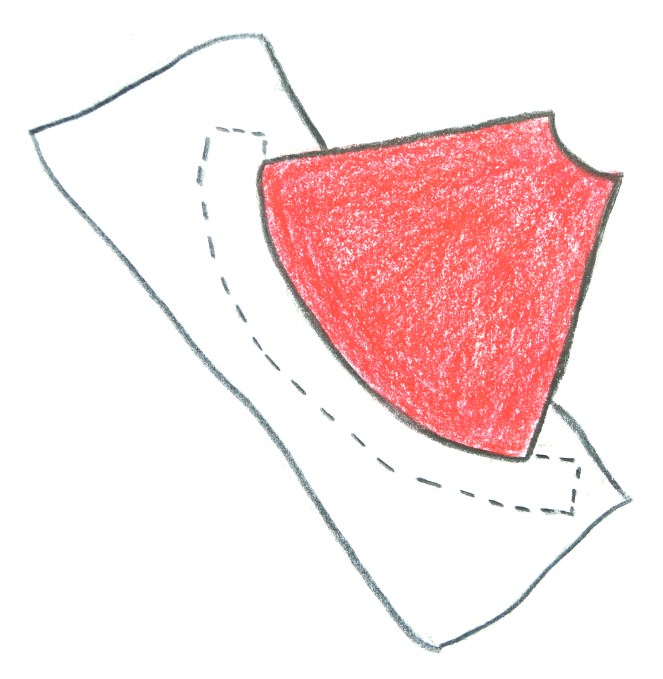
2. Using the pink/red fabric and the newspaper, follow steps 1 to 3 of my Lazy Circle Skirt tutorial (you can find that here) BUT as I mentioned in point 1 thinking about proportions (eg for a 25 inch long skirt I would cut my pink/red fabric at 23.5 inches, which is 22.5 inches of length plus an inch for hemming). As stated in that tutorial, if your fabric is wide enough then you can skip making the newspaper pattern and cut a full circle from your fabric.

3. Lay one of the pink/red pieces over the white/cream fabric. What you’ll need to do (and this is a little tricky, but it doesn’t have to be perfect) is follow the curve around the bottom of the red fabric, marking out the length you want the white/cream fabric to be. This can overlap a little, as the fabric that overlaps will be hemmed together. I wanted to have about an inch of white/cream fabric showing, so I made sure to mark out 1.5 inches below the red fabric to allow for the hem with the green fabric. You’ll need to cut the four quarters out for the cream fabric (unless you have big enough fabric to make one big circle), and remember to allow at the side of each quarter for the hem when you sew them all together.
4. You’ll then need to do the same thing again, this time using the green fabric and overlaying it with the cream fabric you’ve cut to follow that curve. Again, make sure to overlap them a bit to allow for sewing them together, and when you’re measuring the length of the green fabric you would like, allow for hems at the bottom and the sides too. I chose to make my green piece a bit longer than the cream, so I cut it at 2 inches in total, but this is completely up to you.

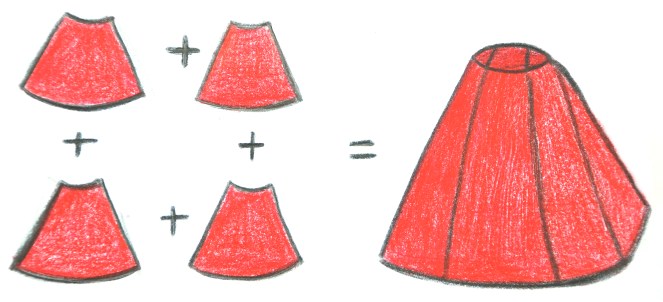
5. Now you’ll need to join all of the pieces up! First, sew all the red, all the cream, and all the green pieces together in their respective circles, like this:

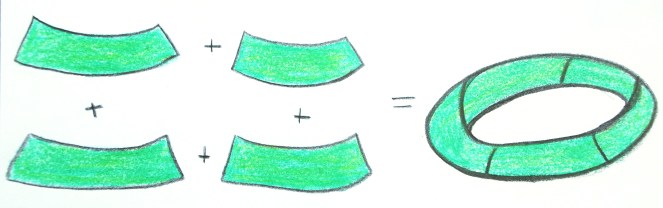
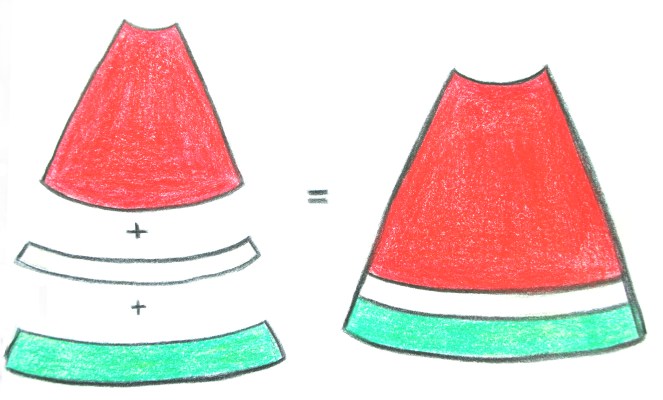
6. Then you can sew all of them together horizontally as well, making sure to line up the seams for each section. A 2D version of what I’m talking about would look like this:
7. Also hem the bottom of the green section!
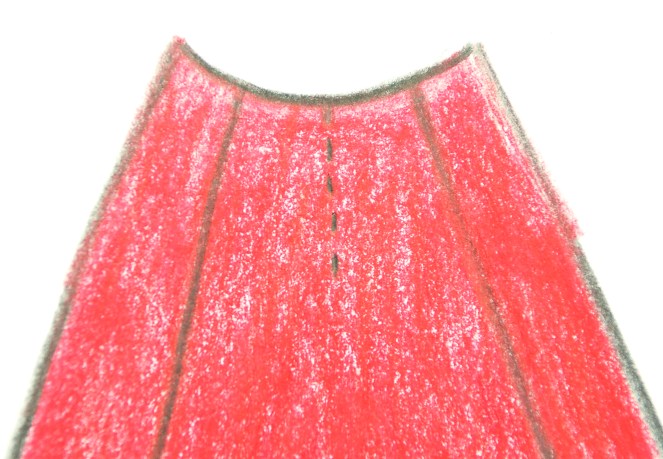
8. Take your scissors and make a cut down the skirt for the side opening. If you’ve made the skirt in quarters, I recommend making the cut in the middle of one quarter (as shown below using the dotted line) – if you had left one of the seams open that would mean you would end up with another seam directly down the front centre of the skirt.
9. Cut a waistband. Measurements will depend on how thick you want the waistband to be, but I make mine 4 inches longer than my waist measurement, and about 3.5 inches wide. Take the waistband and fold a small amount over for the hem (this will go at the front), and then fold the whole panel in half, and iron down both of these folds. Then pin the waistband around the top of the skirt. Do this by folding in each end (so threads aren’t showing), then making sure the main skirt fabric goes right up into the waistband and that the folded over side of the waistband (the one we ironed earlier) is on the outside. Also ensure that each side of the skirt opening is folded in so you don’t get any loose threads poking out. The ends of the waistband will need to overlap themselves to be able to fasten, so try to make one end a bit longer than the other. Once the waistband is on, you can try the skirt on to see how far the ends will need to overlap and therefore where to sew the snaps/hook & eye on. You may also need to sew one or two snaps down the opening if you’re worried about flashing petticoat.

10. Cut out 20 tear drop shapes from the black fabric – these will be the watermelon seeds.

11. Place the seeds evenly around the red fabric of the skirt. I laid mine out as pictured, but you’re welcome to get creative here. Once you have them where you want them, sew them on with a simple stitch (I just used a straight/flat stitch to basically tack them on).

And there you have it – your very own slice of watermelon! I realise that by drawing the process out I may have missed something, or you might find something unclear. If that’s the case, please let me know so I can clear things up, as I really want to make this work for you. I would also love to hear your success stories and see pictures of your own watermelon skirts, so please send me pictures or tag me in your watermelon outfit posts on Instagram! Happy sewing!
Miss Hero Holliday
xo

Ahh gorgeous! I’ve been waiting for this tutorial! I’d wondered what you used for the seeds :)))
And just like that my sewing list grew longer!!
Thank you! 💚❤️
LikeLike
Yay! I would love to see pictures when you make yours 🙂 xx
LikeLike